Alrighty then. It's time to start taking this thing apart. Actually, we already began by taking the stock off. The next thing that comes off is the buffer so let's take a look at that.
Here, we are looking down at the rear section of the receiver with the buffer still in place:
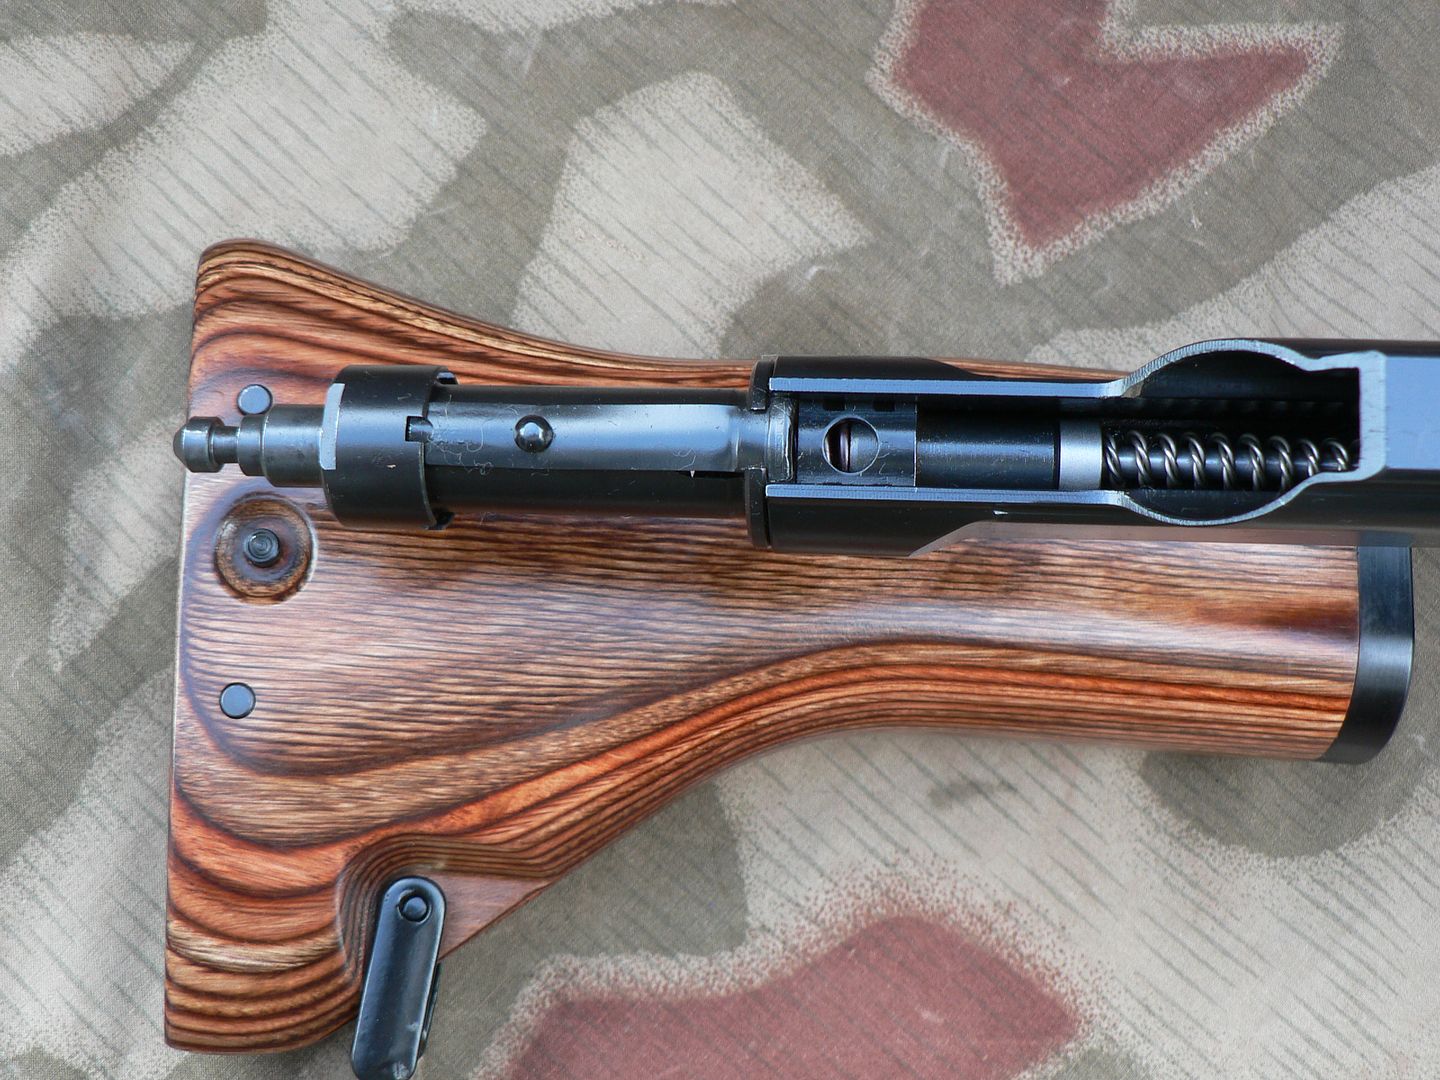
It all looks complicated and I'm sure that manufacturing it all WAS complicated. However, the way it all works is very simple. The buffer itself is nothing more than a tube with a heavy spring inside and a plunger sticking out each end. The plunger facing inside the receiver fits over the end of the stainless steel recoil spring guide. The spring guide is the silver/gray rod disappearing into the receiver with a coiled spring wrapped around it . That spring is the recoil spring. As the rifle fires and the bolt group begins to move to the rear, the recoil spring becomes increasingly compressed. As the recoil spring compresses, rearward inertia is transferred to the recoil spring guide and it tries to move to the rear as well. In doing so, it presses on the plunger sticking out the end of the buffer. The plunger then starts to compress the VERY heavy buffer spring. As it compresses, reward force is imparted on the plunger sticking out the back of the buffer, into the stock and then into your shoulder. While these things are going on, the entire rifle is moving to the rear independent of the bolt group and this force is transmitted to, and this is important, the buffer body, NOT the stock. Remember that the stock is mounted to the buffer ONLY. Thus, the entire rifle begins to move rearward into the stock and this force is again transferred into the buffer spring through the buffer body. What we're getting at here is that ALL recoil force passes through the buffer spring first before being transferred to the stock and, ultimately, your shoulder. The end result VERY little felt recoil. It's somewhere between an AR and an AK in my estimation. This design is pure genius and is by far the most pleasant experience I've ever had with any rifle firing a full sized round.
Now that we know how it works, let's remove it. About halfway towards the rear of the buffer is a little round bump on top. This is a rivet that holds a curved leaf spring in place on the buffer body. At the front, this spring rises into the notch cut into the receiver keeping the buffer from turning. Use your thumb to press down on the spring and then turn the buffer 90 degrees in either direction as shown here (we turned it clockwise as seen from the rear):

This disengages three interrupted rings machined into the buffer body from three grooves machined into the rear of the receiver. Now pull the buffer to the rear and out of the receiver. You may have to wiggle it just a little as you pull because it is a very closely fitted part.
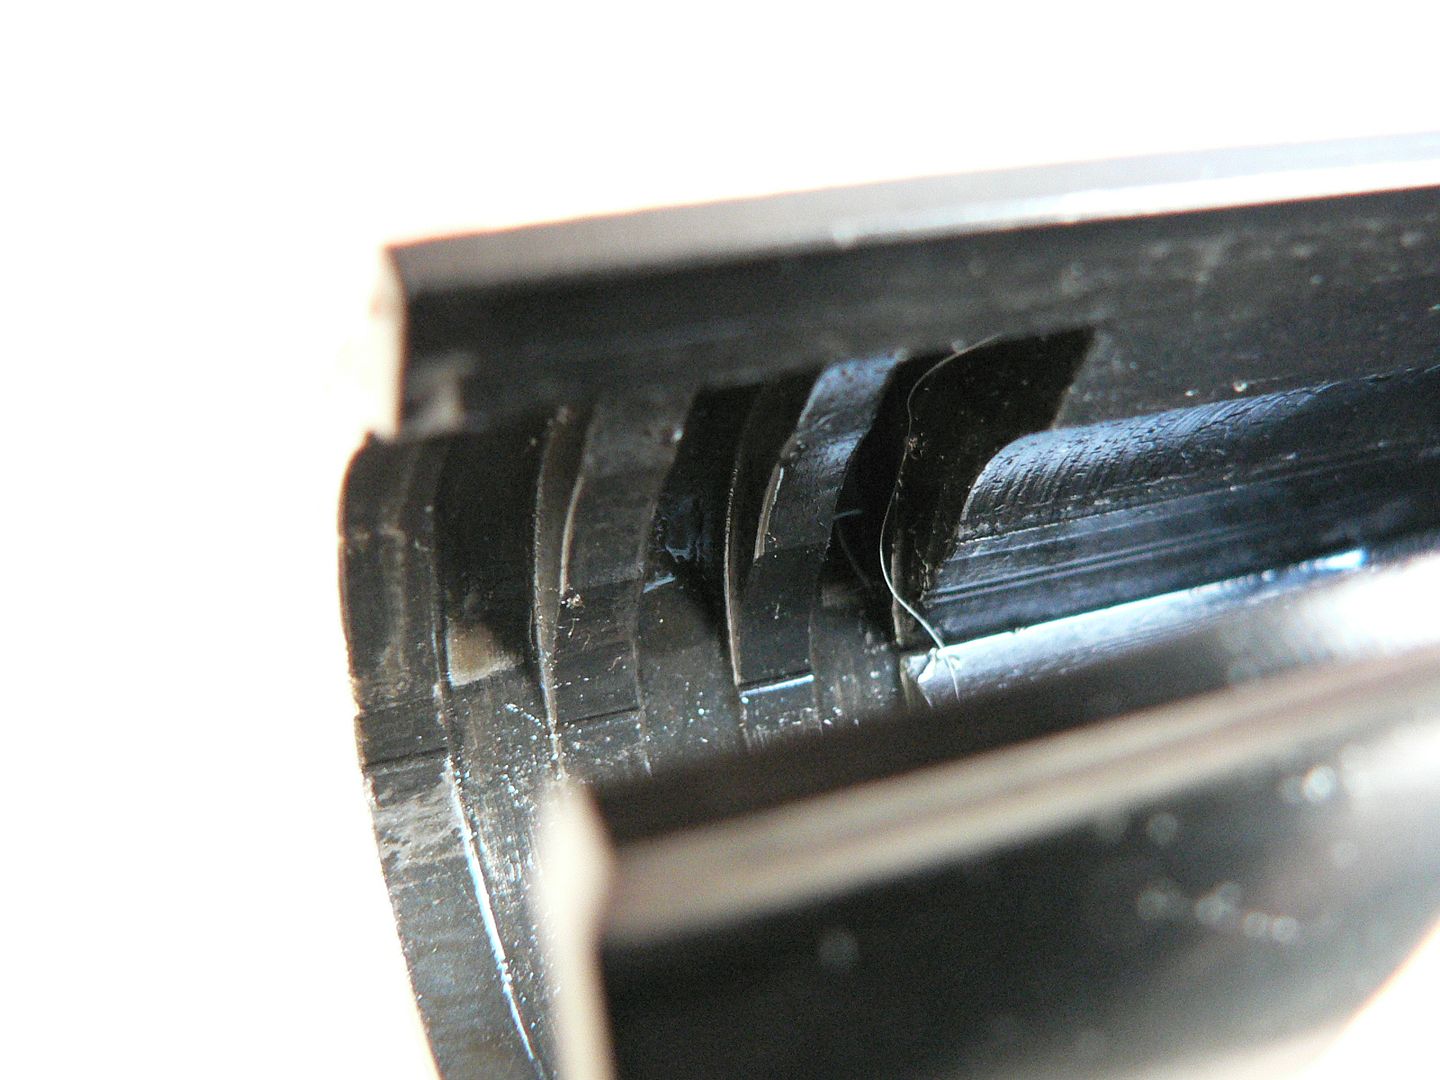
Here's what the grooves in the back of the receiver look like:
Here is the buffer removed from the rifle:
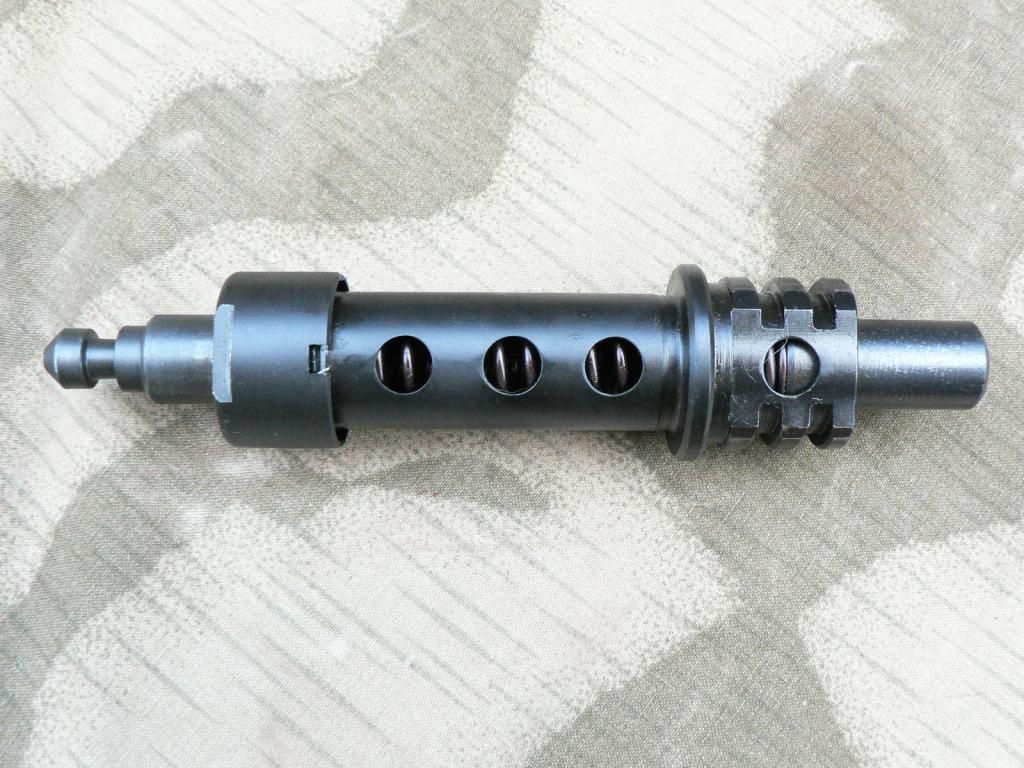
I have turned it upside down because we have already seen the top and the side of it. Forward is to the right of the picture. Sticking out the front is the plunger that fits over the recoil spring guide. Next are the three interrupted rings that secure it in the receiver. Through the forward hole, we can see where the buffer spring meets the front plunger. Passing to the rear, we come top another ring that is uninterrupted. This rests against the back of the receiver and stabilizes the buffer so that is won't wiggle and destroy the mounting rings and/or their grooves in the receiver. We then have three more holes bored through the buffer body. I assume that all four of the holes are there for a number of reasons; some these being to relieve pneumatic pressure as the buffer does it's thing, allowing water and debris a way out (and in for that matter), and allow lubricating of the buffer spring. There may be other reasons that I am too dim to recognize too. Next up is the buffer cap. It is threaded over the rear of the buffer body and holds it all together. Notice that it has a small notch cut out of it. There is another one 180 degrees around the circumference of the cap and either one can be engaged by the rear of the leaf spring riveted on the top of the body to keep the cap from unthreading itself during use. There are also two flat areas machined into the cap so that a wrench can be used to unthread the cap if it's stiff. Sticking out the back of the buffer is the rear plunger which we have already talked about. I'd like to take the buffer apart but I don't think it would be prudent. The spring is so heavy that I can't even budge it unless it's installed in the receiver and I'm pushing on the rifle. To move it by hand when it's off the rifle is impossible for me. I have no idea how long that spring is when not compressed and I'm afraid that I might not get it back together again without mangling the entire assembly so we're just gonna' leave that thing alone.
Next, pull out the recoil spring guide and the recoil spring. We'll see those two parts in their entirety in a little bit but for now I want to direct your attention to the rear of the spring guide for just a moment:
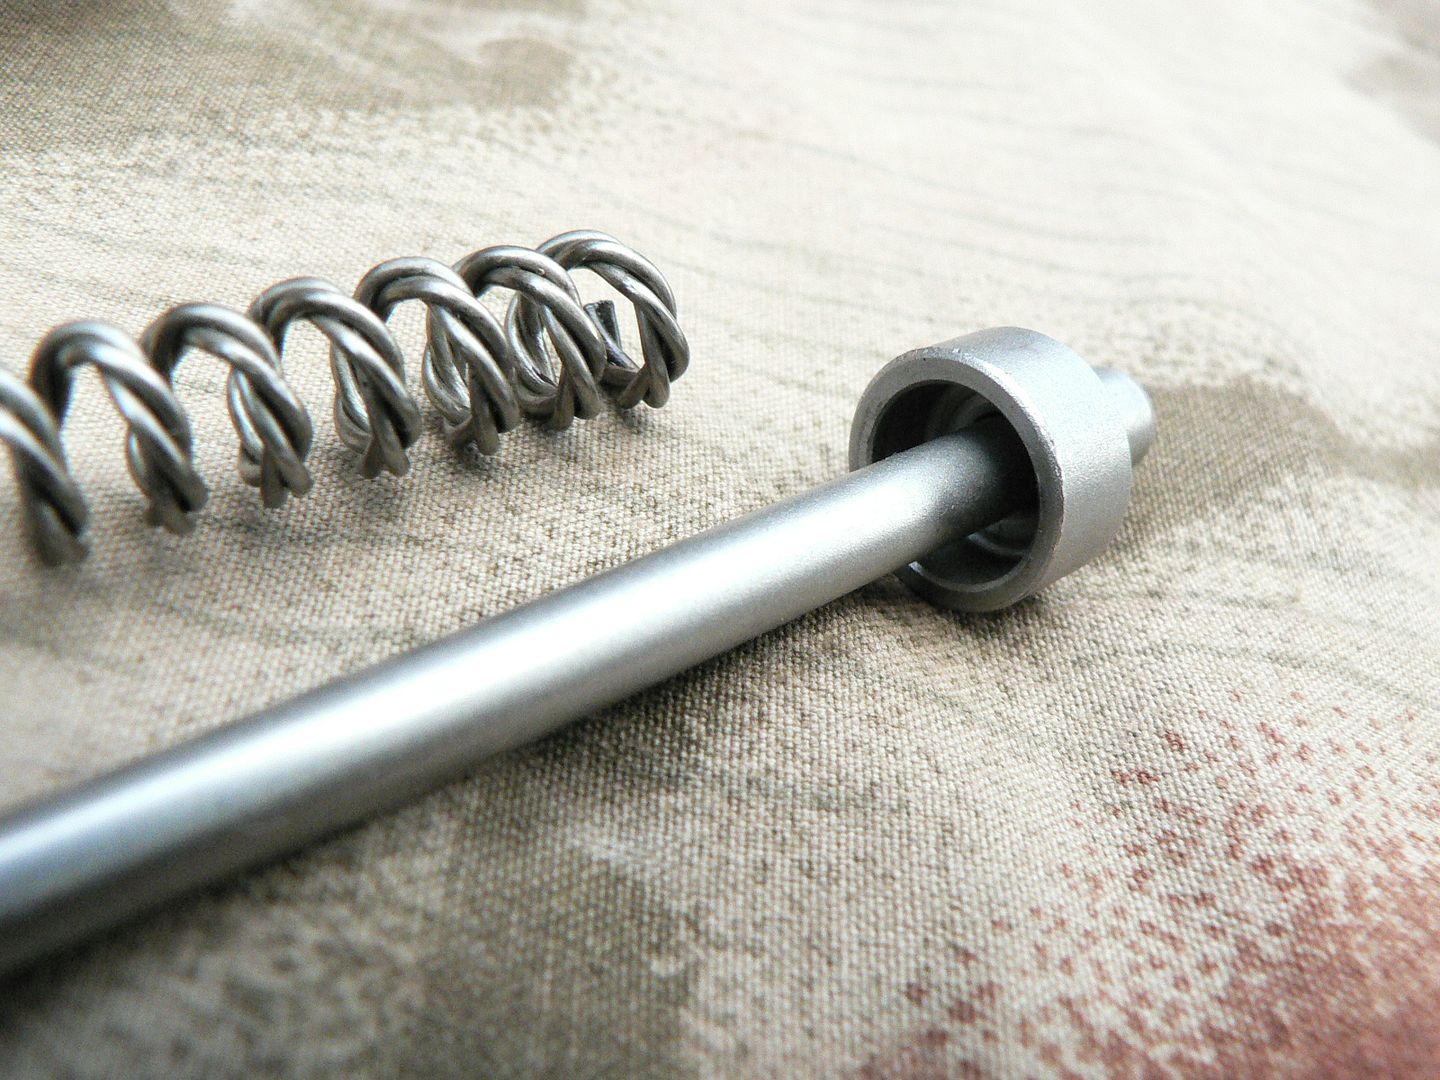
Here, we're looking at a cup machined into the guide for the spring. It's just another example of the attention to detail present in this rifle. Most folks wouldn't even give it a second thought but I notice little things like this. I'm sure a flat ring on the rod would work just fine but the cup.....well, that reminds me of something the Swiss would do. Very nice! Also notice the three stranded recoil spring. This was done on original rifles to combat spring fatigue and has been carried over into the SMG rifle as well.
Continuing on, pull the charging handle fully to the rear as shown here:
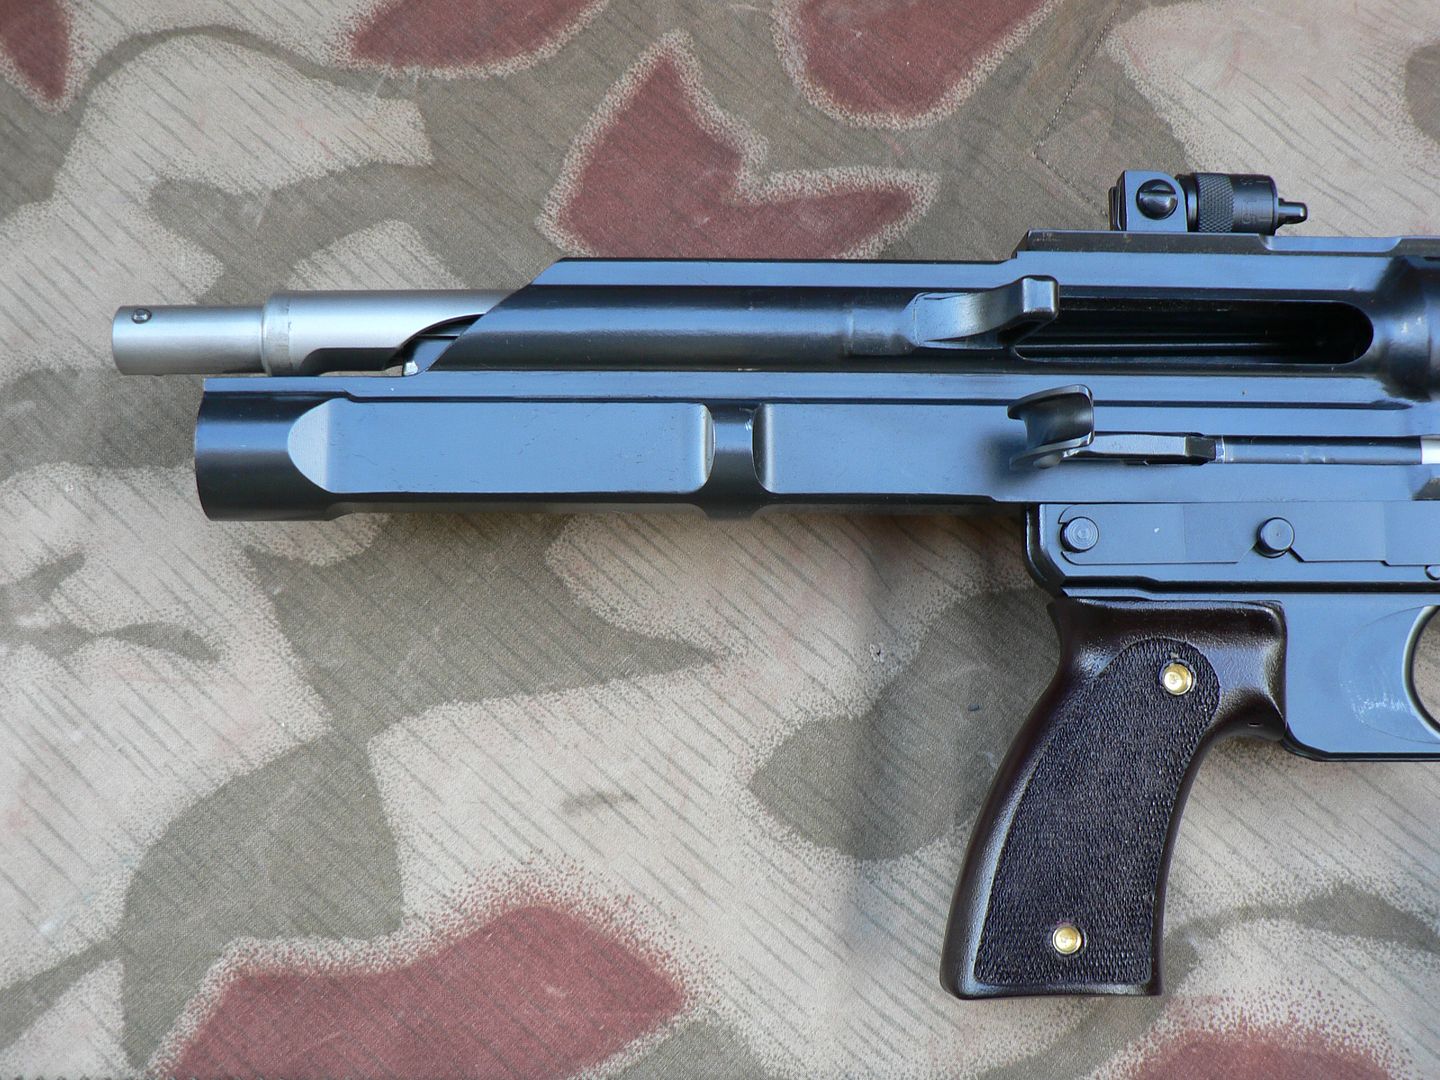
It will require more force than you would expect because remember that we have another spring hidden in the bolt that must be compressed as the action is drawn to the rear. Notice that the rear of the bolt is now sticking out the back of the receiver.
Pull the charging handle out of the operating rod and set it aside:
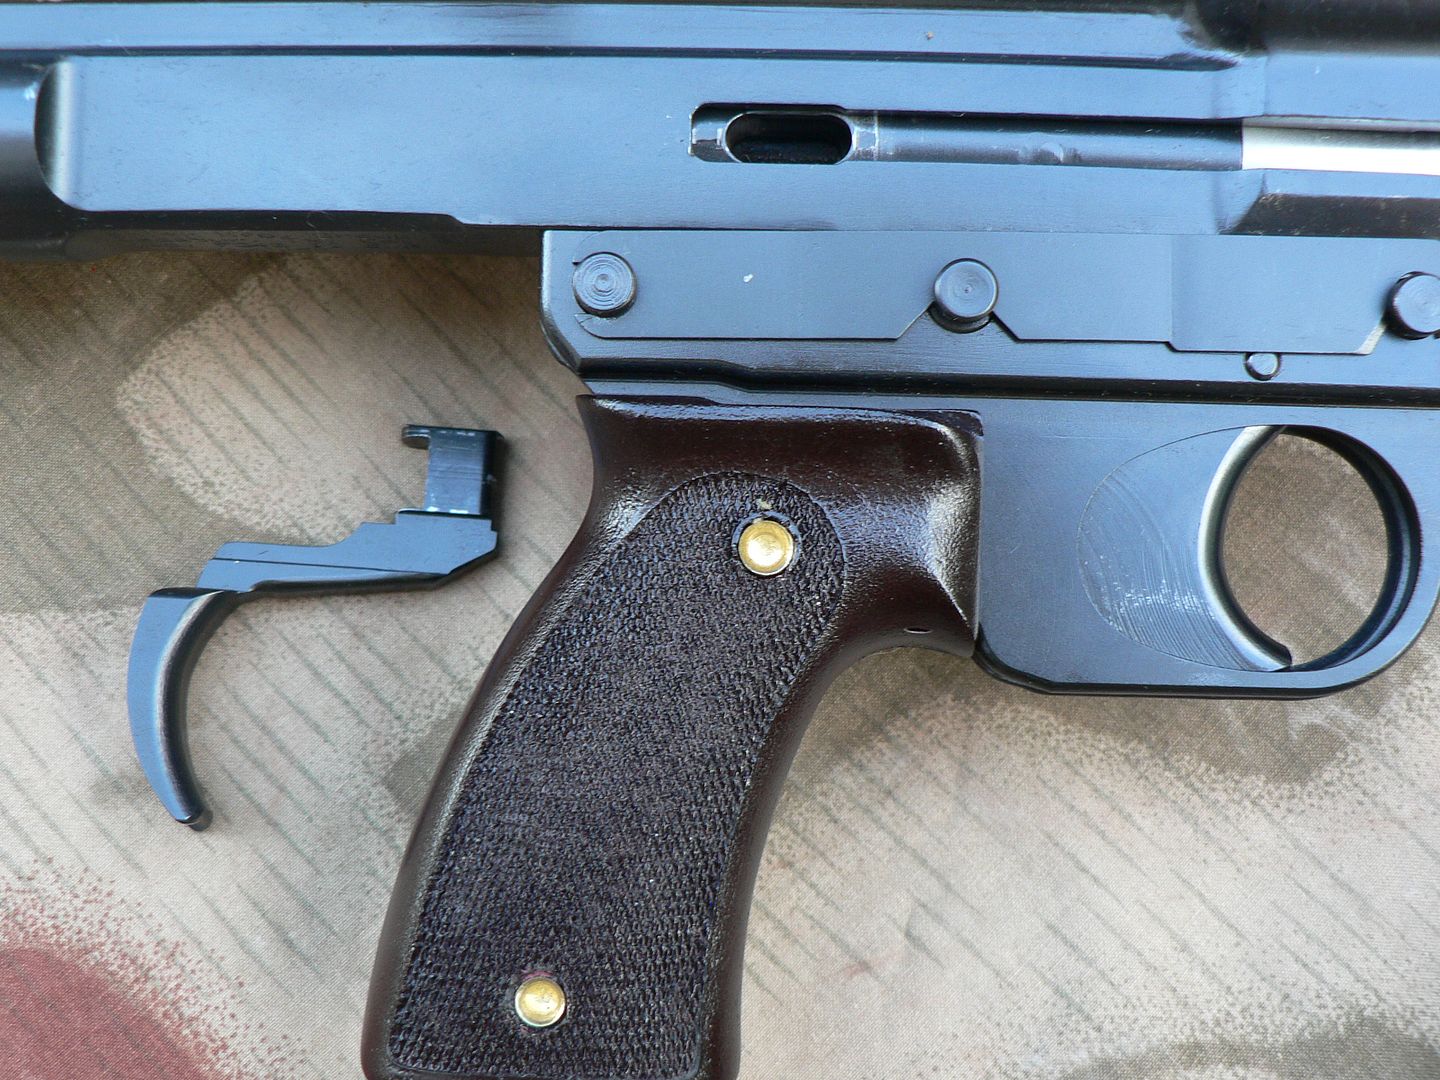
There is a little captive plunger inside the operating rod that is pushed forward by the recoil spring. If this plunger is in the forward position, the charging handle cannot be removed. In this case, just point the rifle upwards and tap on the back of the bolt assembly or rear of the receiver and the plunger will move backwards releasing the charging handle.
Here's a close-up of the charging handle:
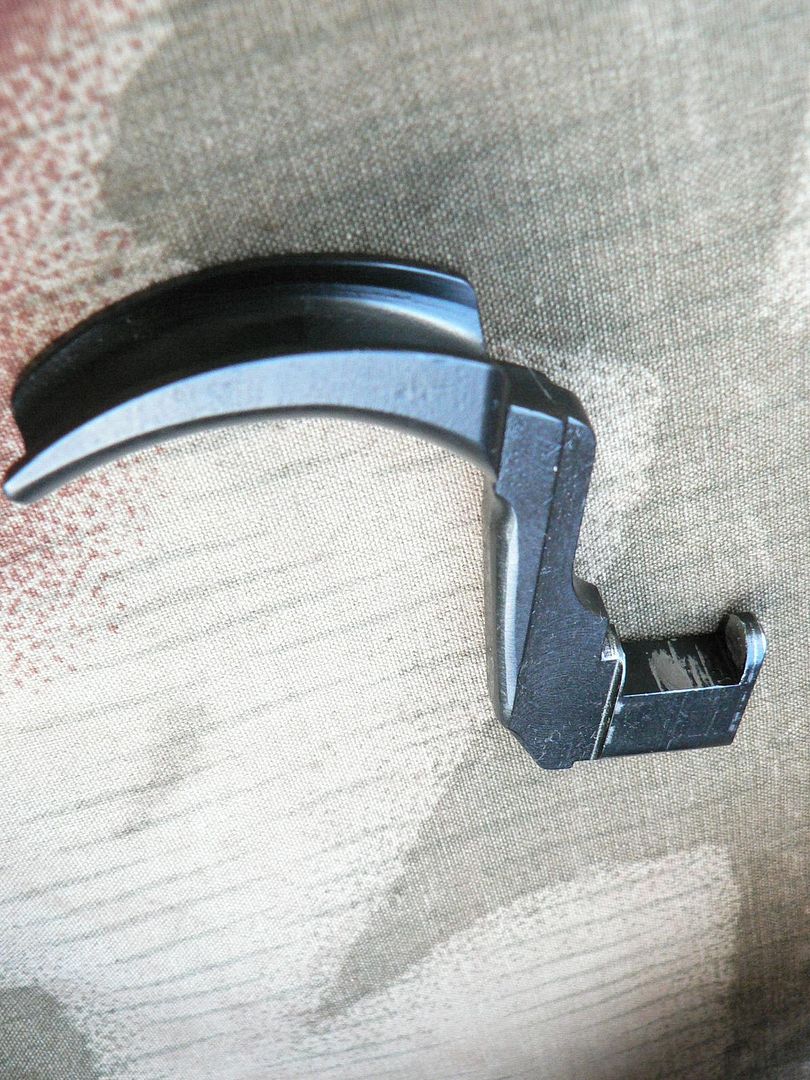
Notice the notch that the plunger fits into. The bluing has been removed where the two parts contact each other. Were it not for this plunger and notch arrangement, the charging handle would eventually fall out in use because it reciprocates with the bolt group.
In the next post, we'll remove the bolt group and take a look at it before starting to disassemble it into it's various components. Ok bye!