I've been busy so I haven't been posting. I'm still busy but I'm going to do at least a short post this evening.
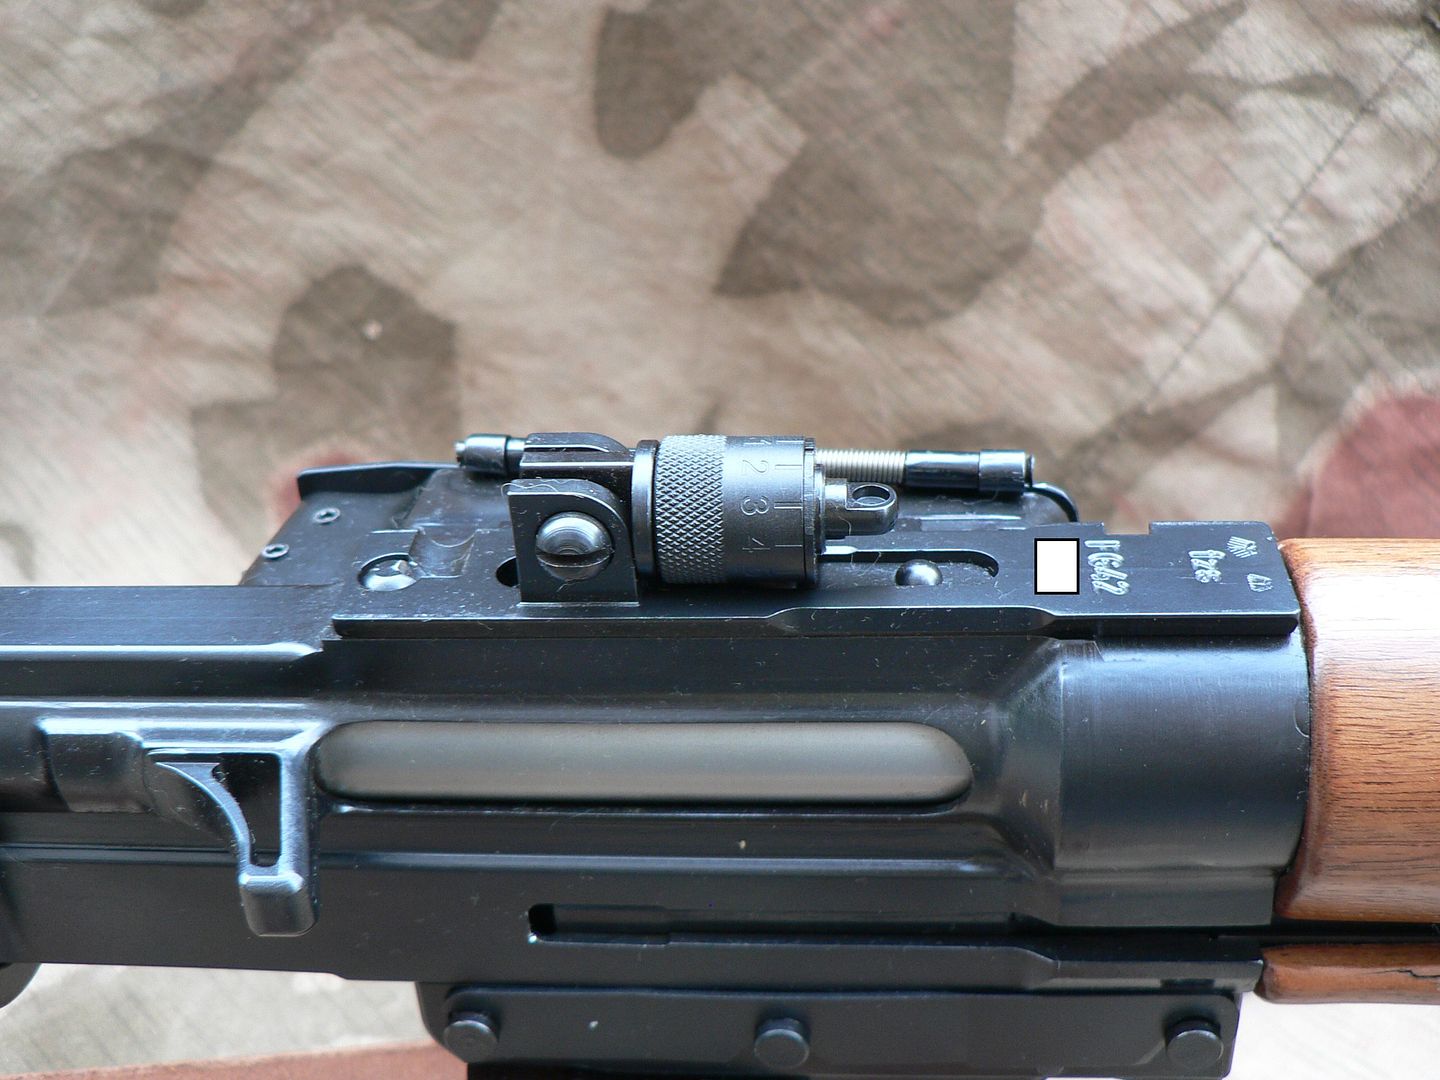
Let's start looking at the receiver. On original rifles, this part was stamped. SMG mills theirs out of an approximately thirteen pound block of steel, ending up with a finished receiver that weighs right around two pounds. When seen from that perspective alone, it's easy to see why the Germans stamped them out of sheet metal! I can't even imagine how much time and how many individual cuts goes into machining each one. If I'm reading the manual and the rifle itself properly, there is a trunnion pressed and pinned into the receiver shell that contains the cutouts for the two locking lugs on the bolt. The barrel also screws into the trunnion. Lets, start by looking at the right side of the receiver:

To the right of the above picture, you can see the rear of the walnut hand guard. At the bottom of the picture you can see the top of the trigger housing and its retaining pins. Above the trigger housing is the cocking slot. The rear of the slot is enlarged to (supposedly) facilitate removal of the charging handle during disassembly of the rifle. I say "supposedly" because it isn't necessary. The cocking slot is wide enough for the charging handle to be removed anywhere throughout its entire length. In other words, the enlarged area is pointless. The bulged area at the front of the receiver is where the trunnion is located. If you look very carefully, you can see a little less than half the diameter of the trunnion retaining pin. The rest of it is hidden by the hand guard. This pin is very well fitted to the receiver so its a little hard to see but it's there. Behind the trunnion bulge is the ejection port with the bolt visible through it. Behind the ejection port is the case deflector which helps with positive and reliable ejection. It's welded in place on the receiver but some of the earlier rifles had this part pinned in place. We'll look at that in just a minute. Riveted in two places to the top of the receiver is the rear sight plate. It's dovetail shaped so that it also serves as a scope rail. At the base of the rear sight is a slotted screw. Original rifles simply had a pin here which served only to attach the rear sight to the rifle. SMG has improved on the design by making the rear sight windage adjustable using this screw. Turning the screw clockwise moves the sight to the right. Turning the screw counter-clockwise moves the sight to the left. Similar to the front sight, the rear sight folds down. But instead of a detent and spring arrangement, it uses a leaf spring to hold it in either the up or down position. This leaf spring is retained by the front sight plate rivet.
Here's a picture of the rear sight folded :
Let's look more closely at both types (welded and pinned) of case deflectors.
Here's a close-up of the later welded type deflector:
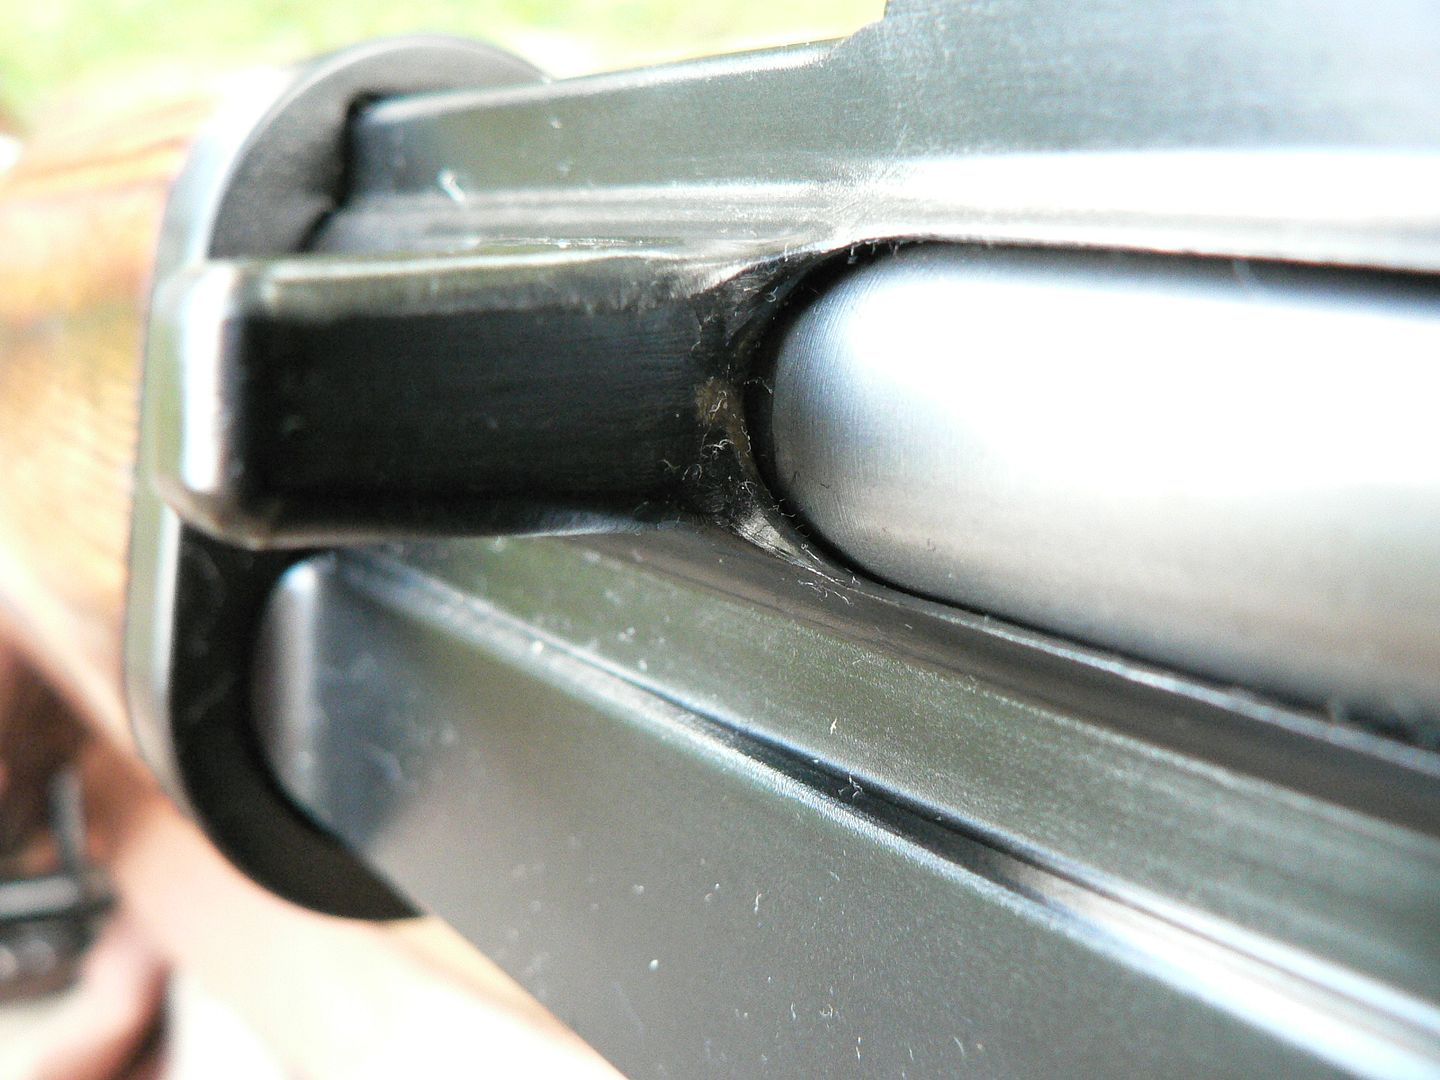
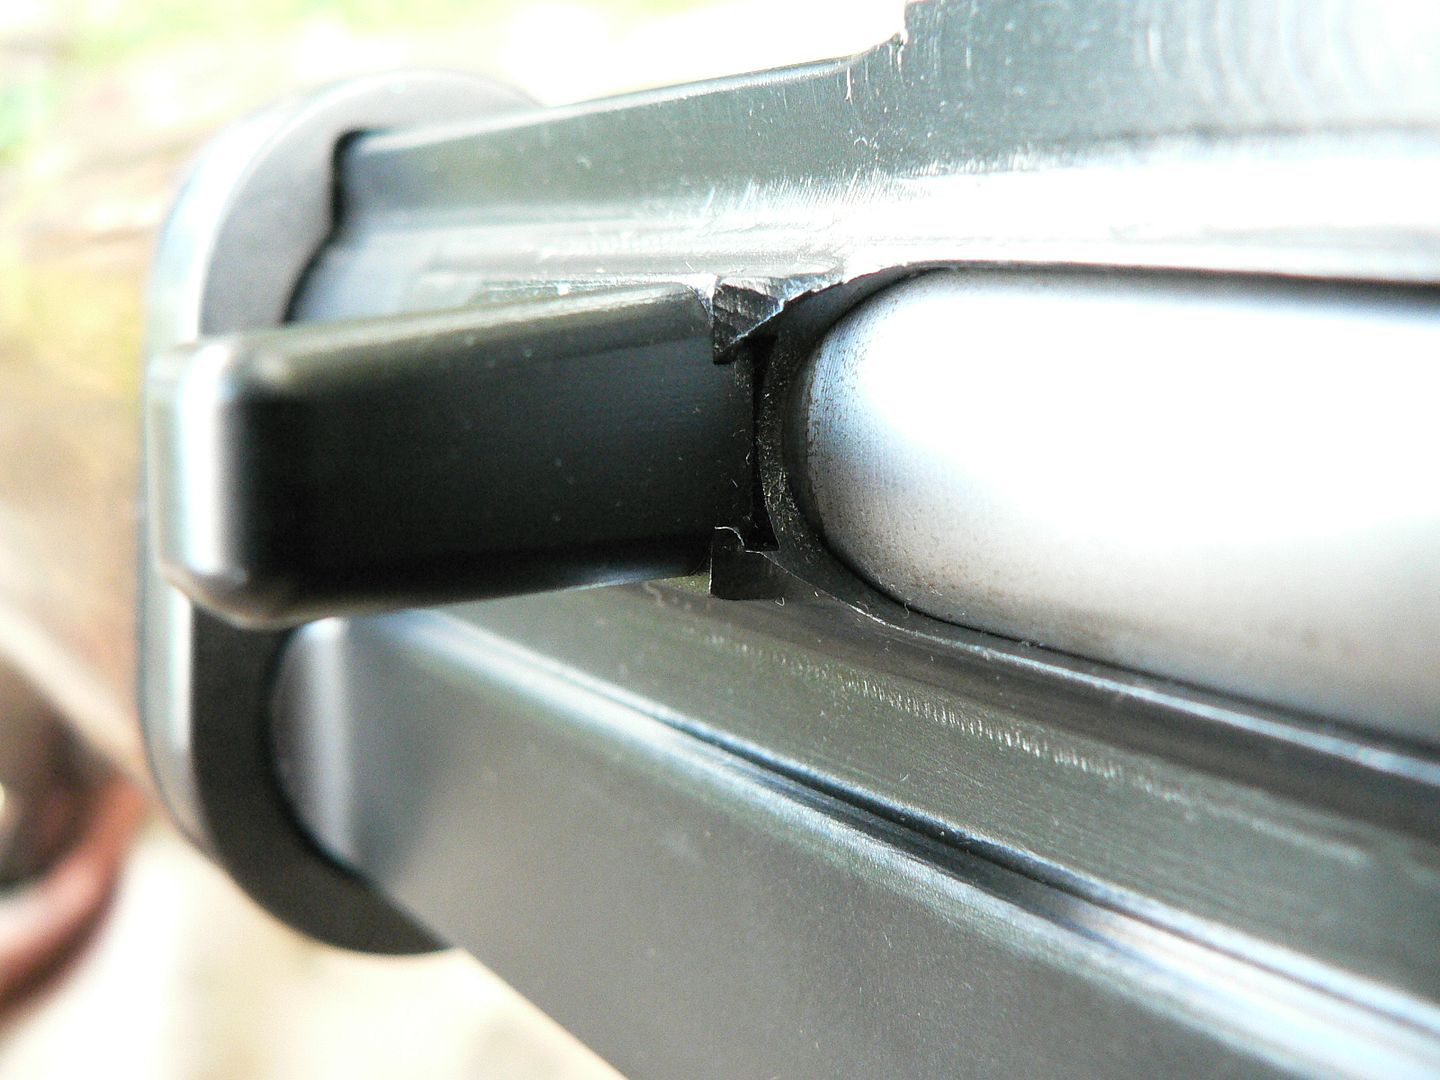
The ejection port is to the right of the picture. I can only assume that there is a dovetail underneath of that weld based on what an earlier pinned deflector looks like as seen here:
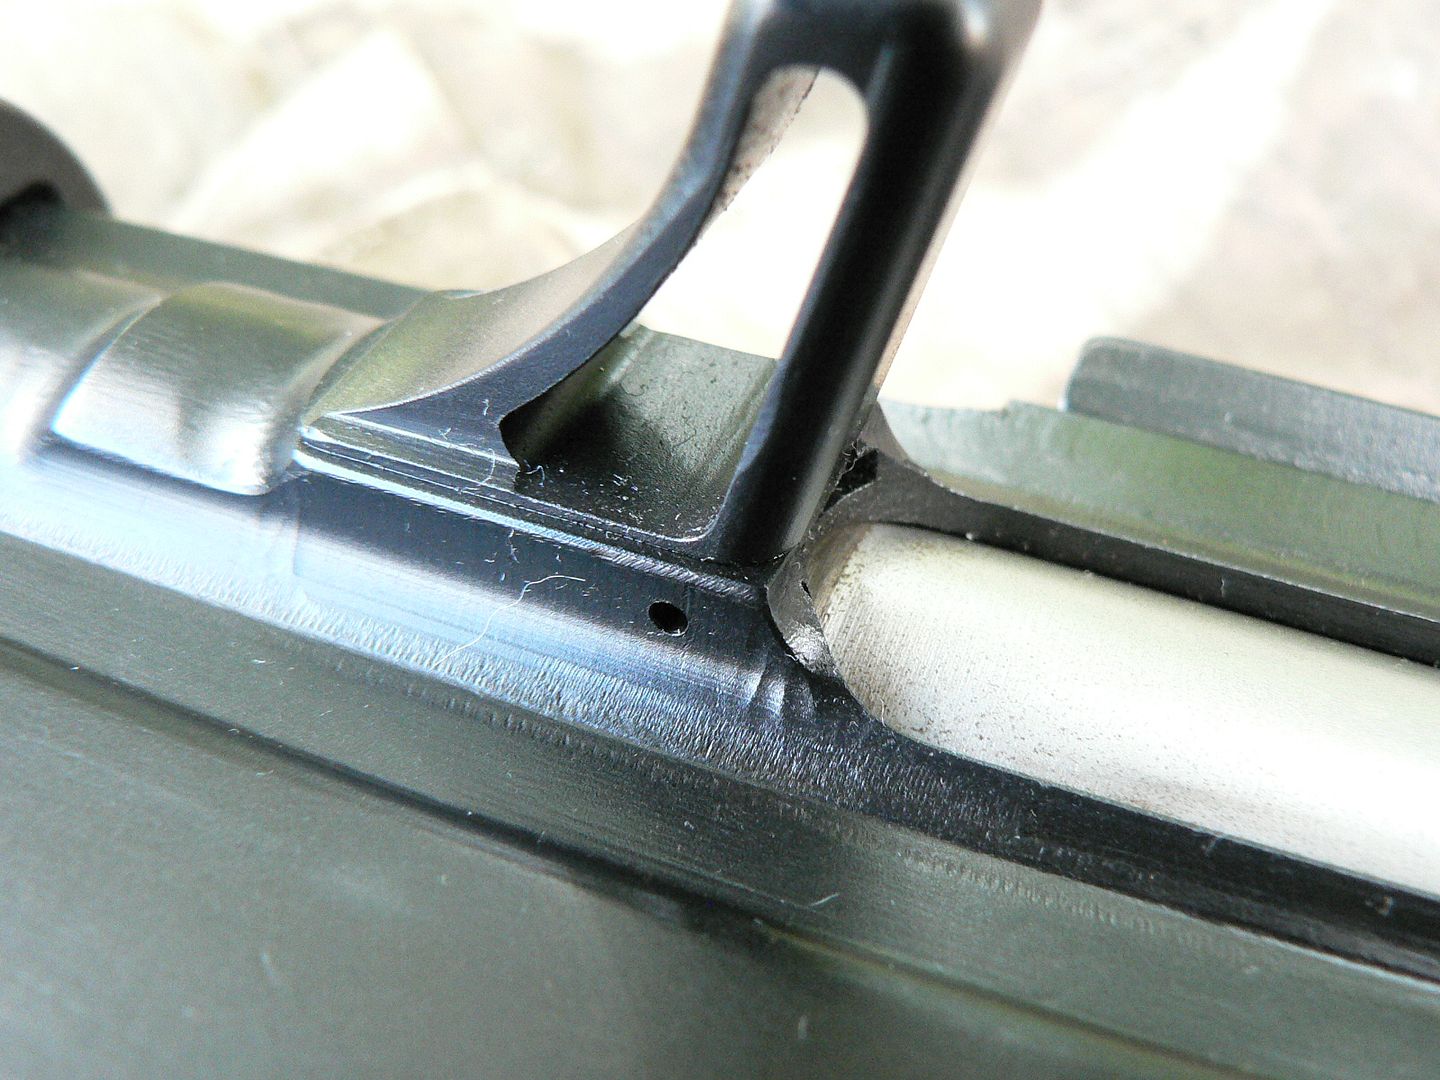
In this view from underneath, the retaining pin hole for the earlier deflector is clearly visible:
This photo shows a top view of both deflector types:
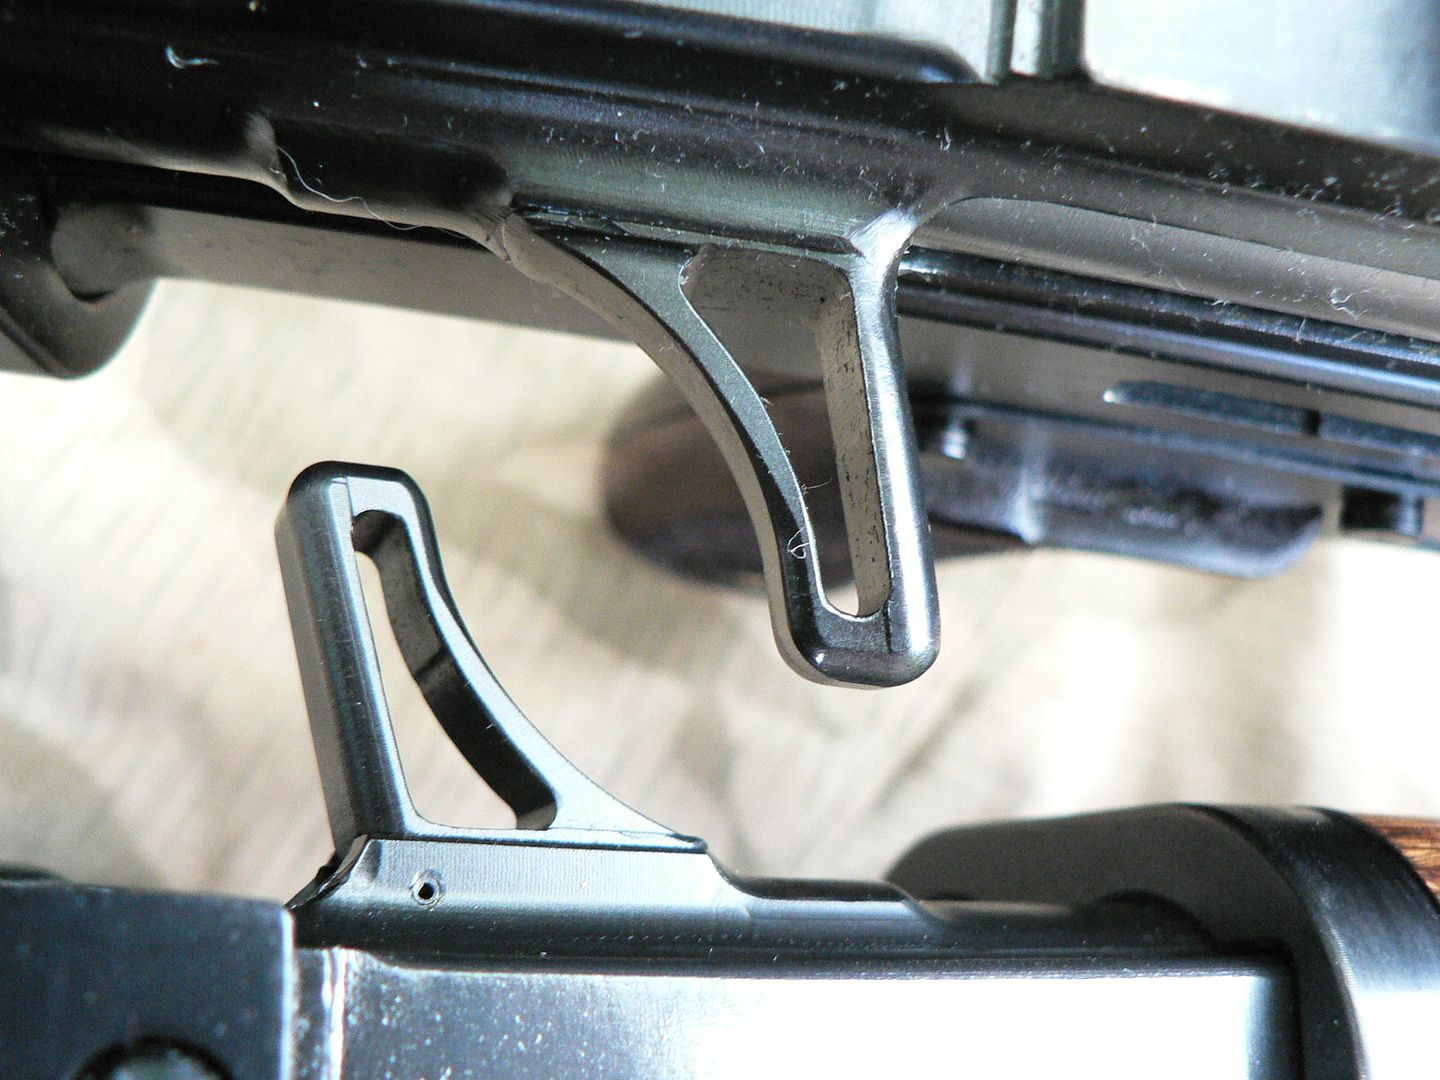
The pinned deflector is at the bottom and the retaining pin can be seen.
Before continuing on with the rest of the receiver, let's take a closer look at the rear sight.
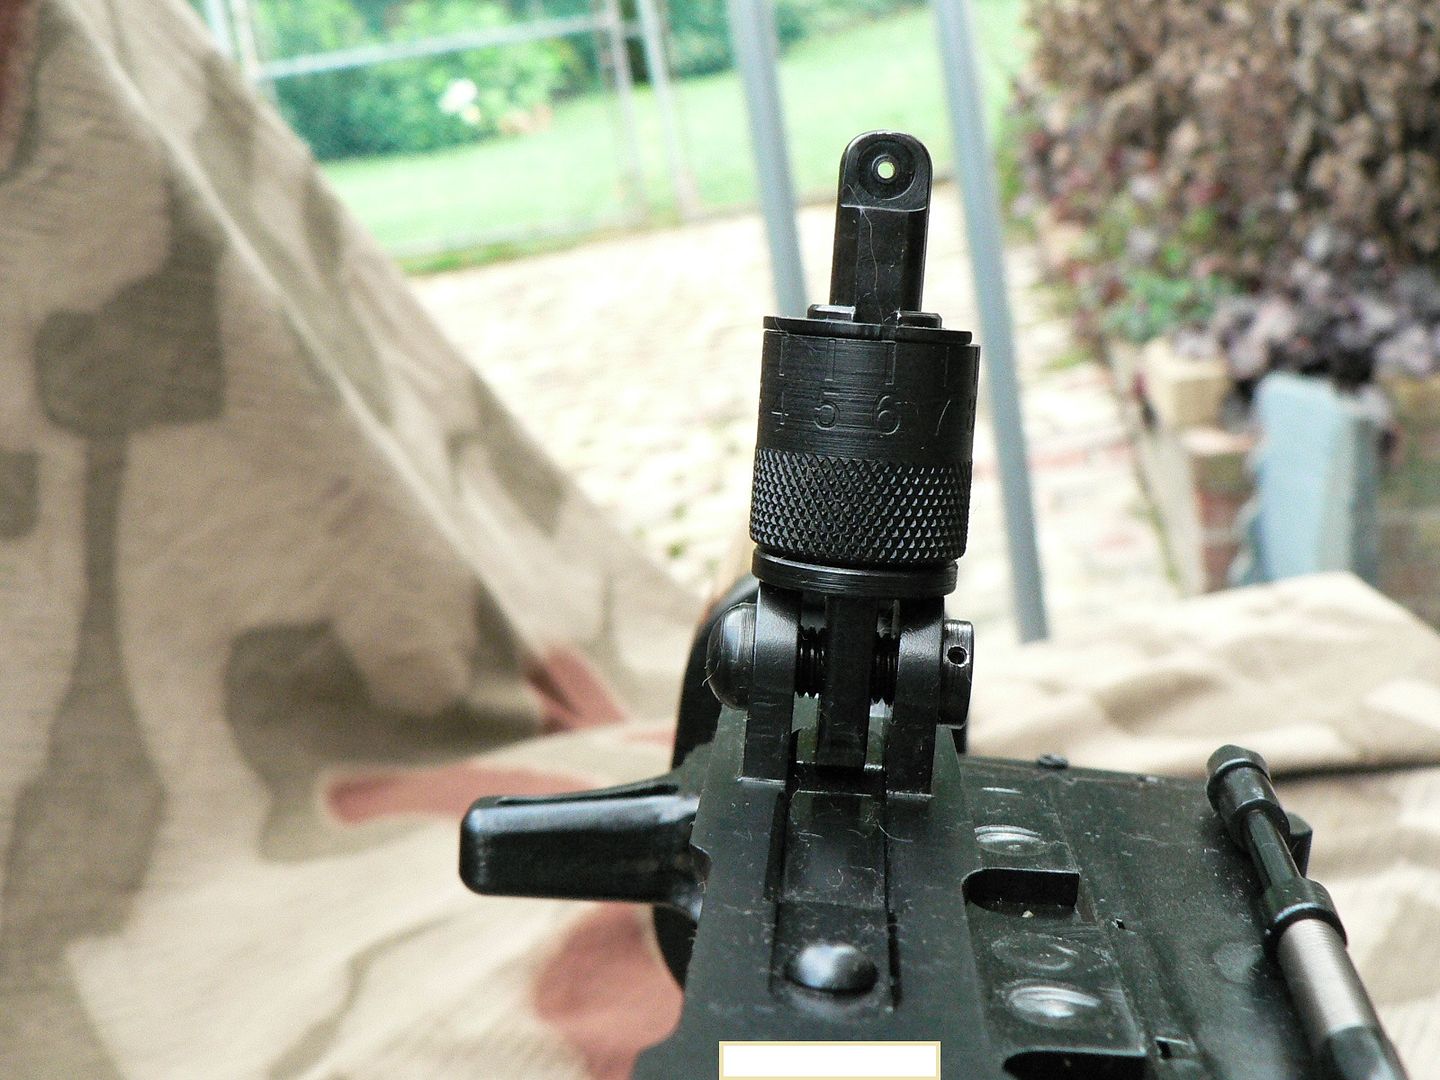
Here's what the sight looks like set to the 100m position:
We are looking from the front of the rifle towards the rear. This shot nicely shows the windage adjustment capability of the sight. The nut on the end of the adjustment screw is pinned to the screw. The sight base is NOT threaded so the screw just turns in place without moving right or left as you turn it. Only the rear sight itself moves left or right. All of this is pretty closely fitted so that the adjustment doesn't change during recoil or as you fold the sight up or down. It only turns when you use a screwdriver. That's Quality! To adjust elevation on the rear sight, simply push down on the aperture post sticking out the top and spin the knurled range barrel until the range you are shooting at is displayed at the center rear of the sight. Then release the aperture post and the range barrel will lock in place. Settings are from 100-1200m in 100m increments. DO NOT try to turn the range barrel unless the aperture post is pressed down or you can damage the rear sight!
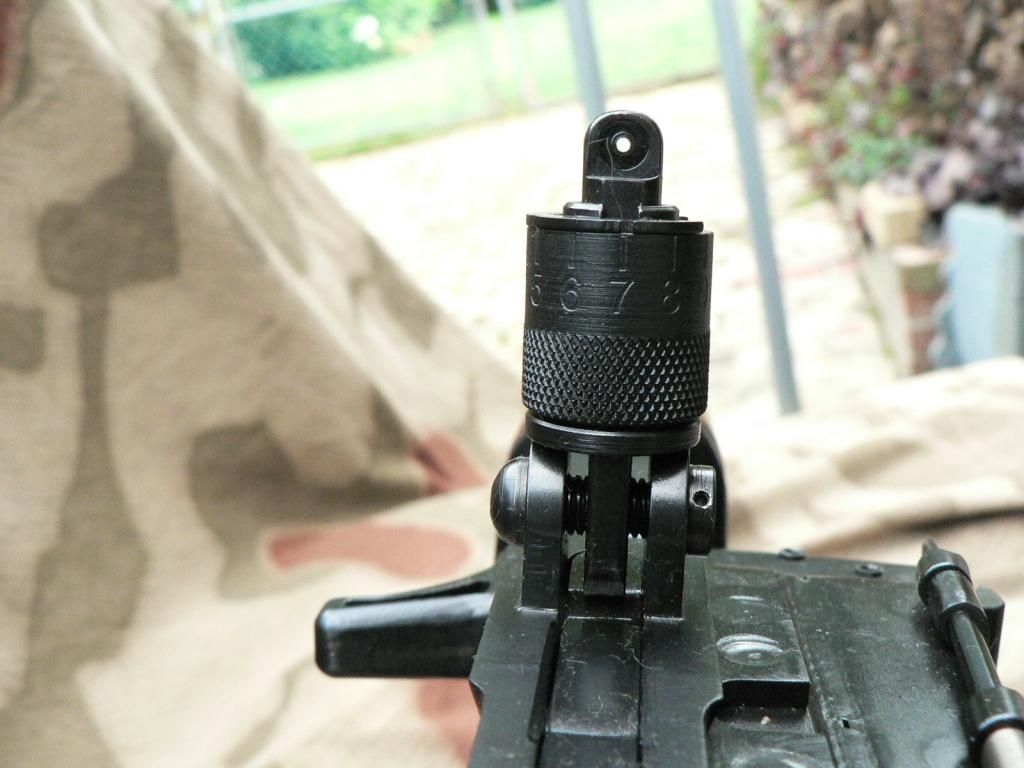
Here is the sight set to 1200m:
Notice how much higher the aperture post is at this setting. This view also shows the sight leaf spring pressing up against the bottom of the sight and the rivet holding the spring to the rear sight plate.
Here's a left side view of the sight folded showing the adjustment screw retaining nut:
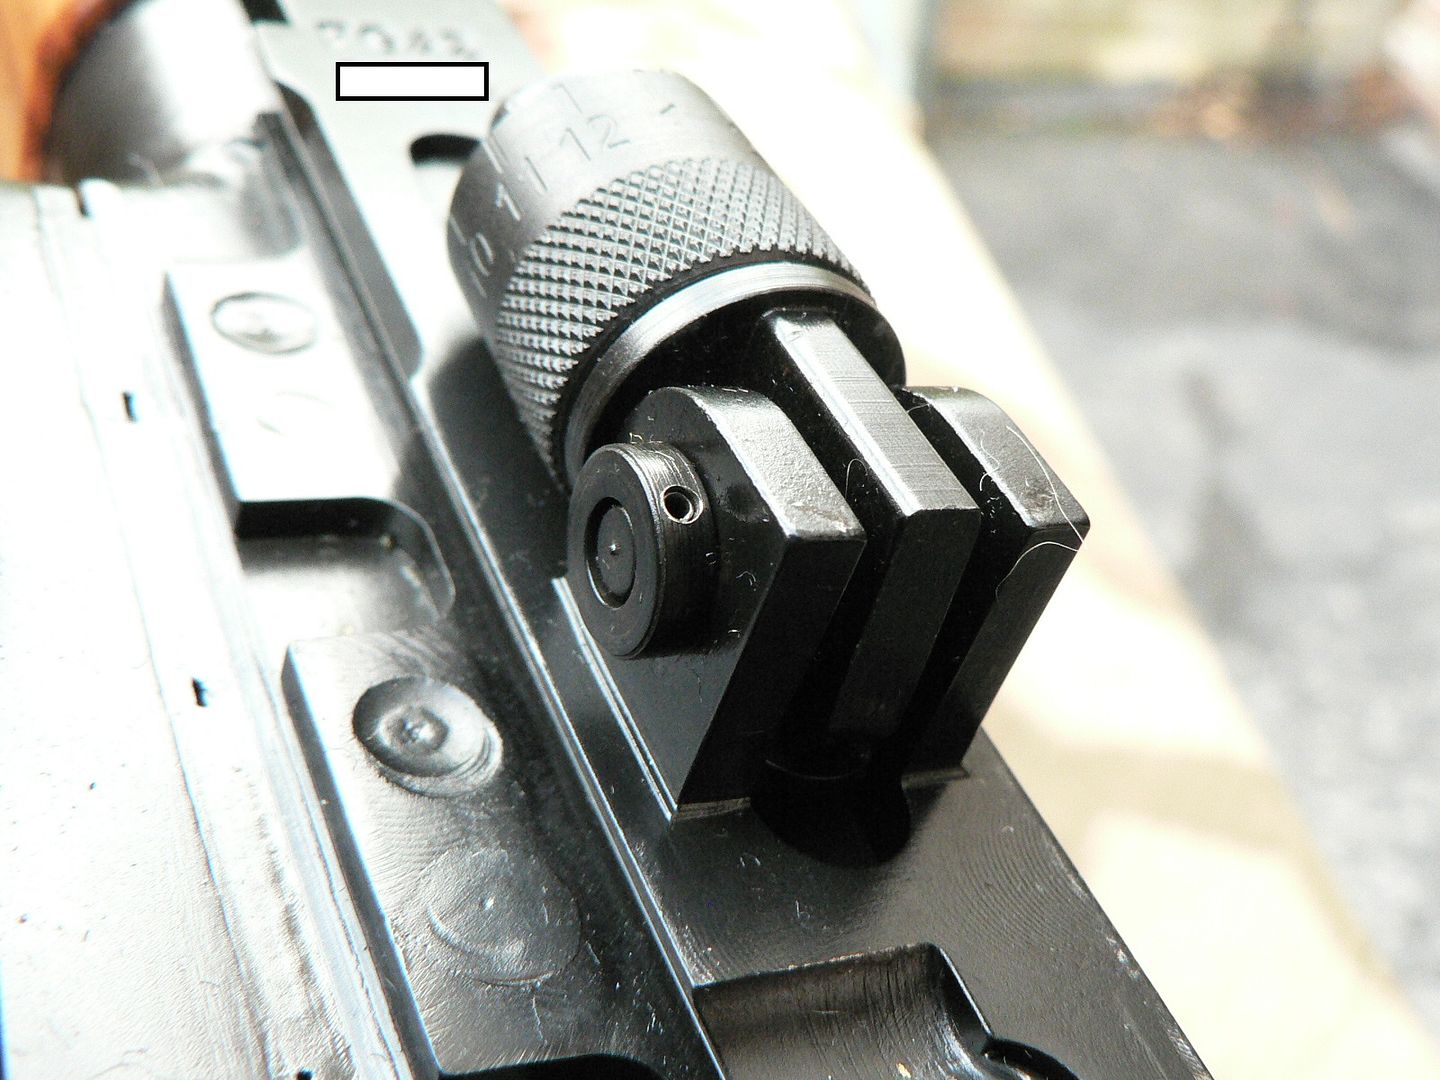
Notice how fine the knurling is on the sight and how crisp the lines are on the various edges and contours of parts. Also, note worthy is how well it all goes together. In my opinion, anyone who questions why these rifles cast as much as they do really has no idea what kind of care and skill goes into crafting a product such as this. If it's not as well built as my SIG (and it just might be), it's so close that any difference is negligible.
Having said that.....PLEASE SMG, engrave the elevation markings a little deeper and paint them prior to the rifle leaving your facility. Which looks better and is easier to read?
This?
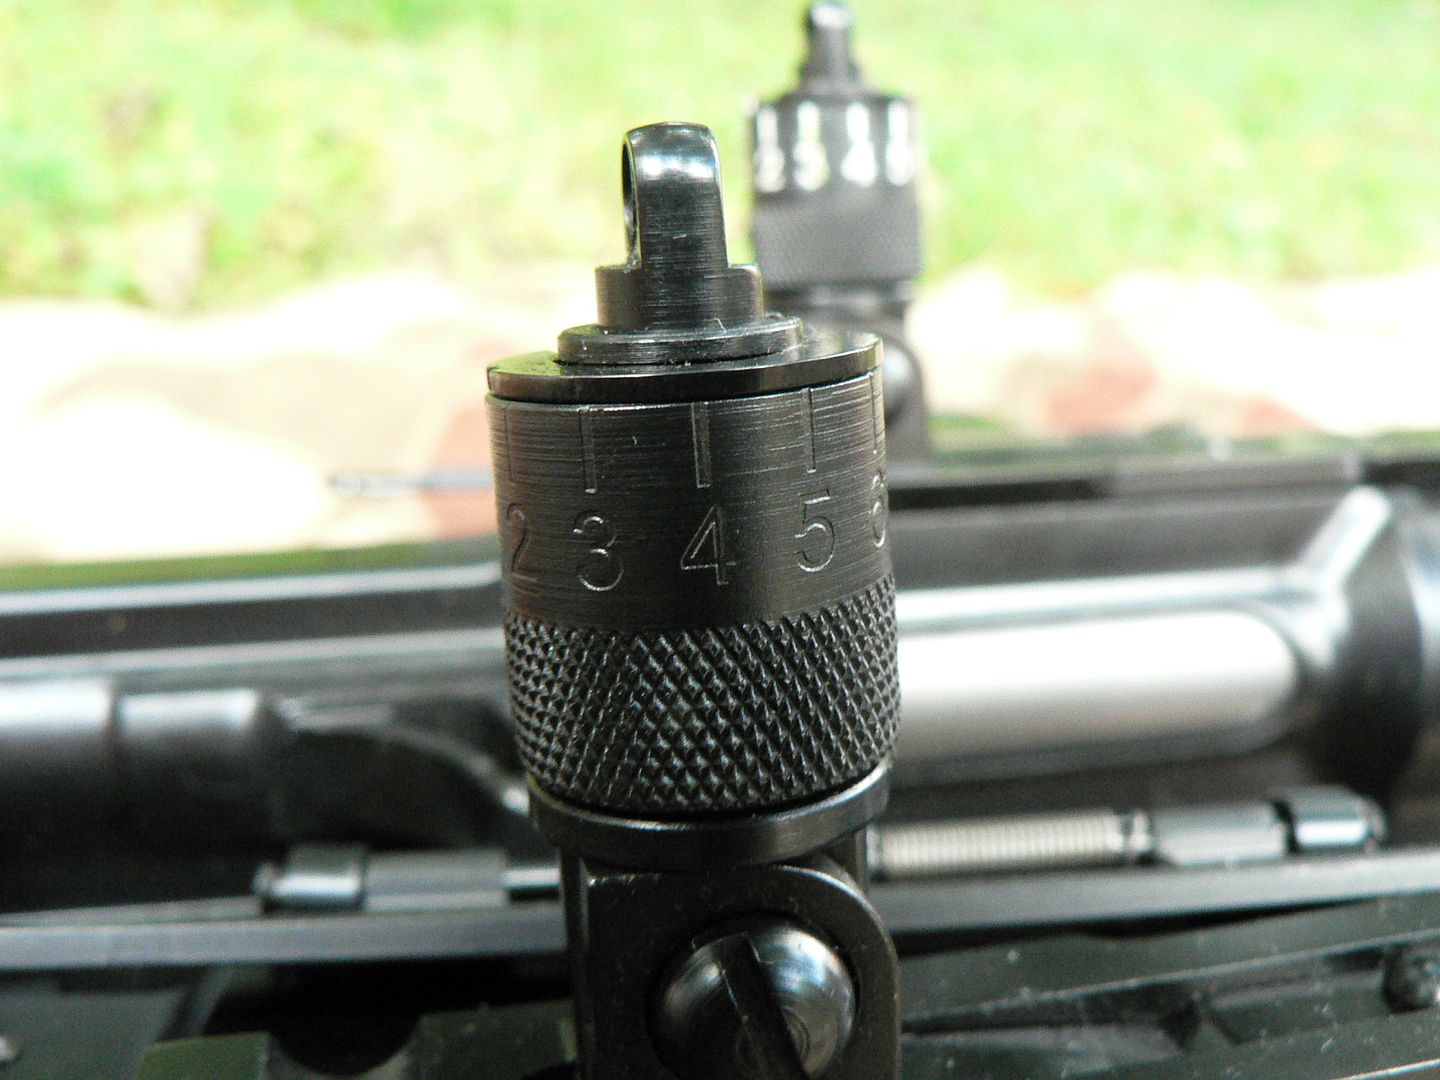
Or this?
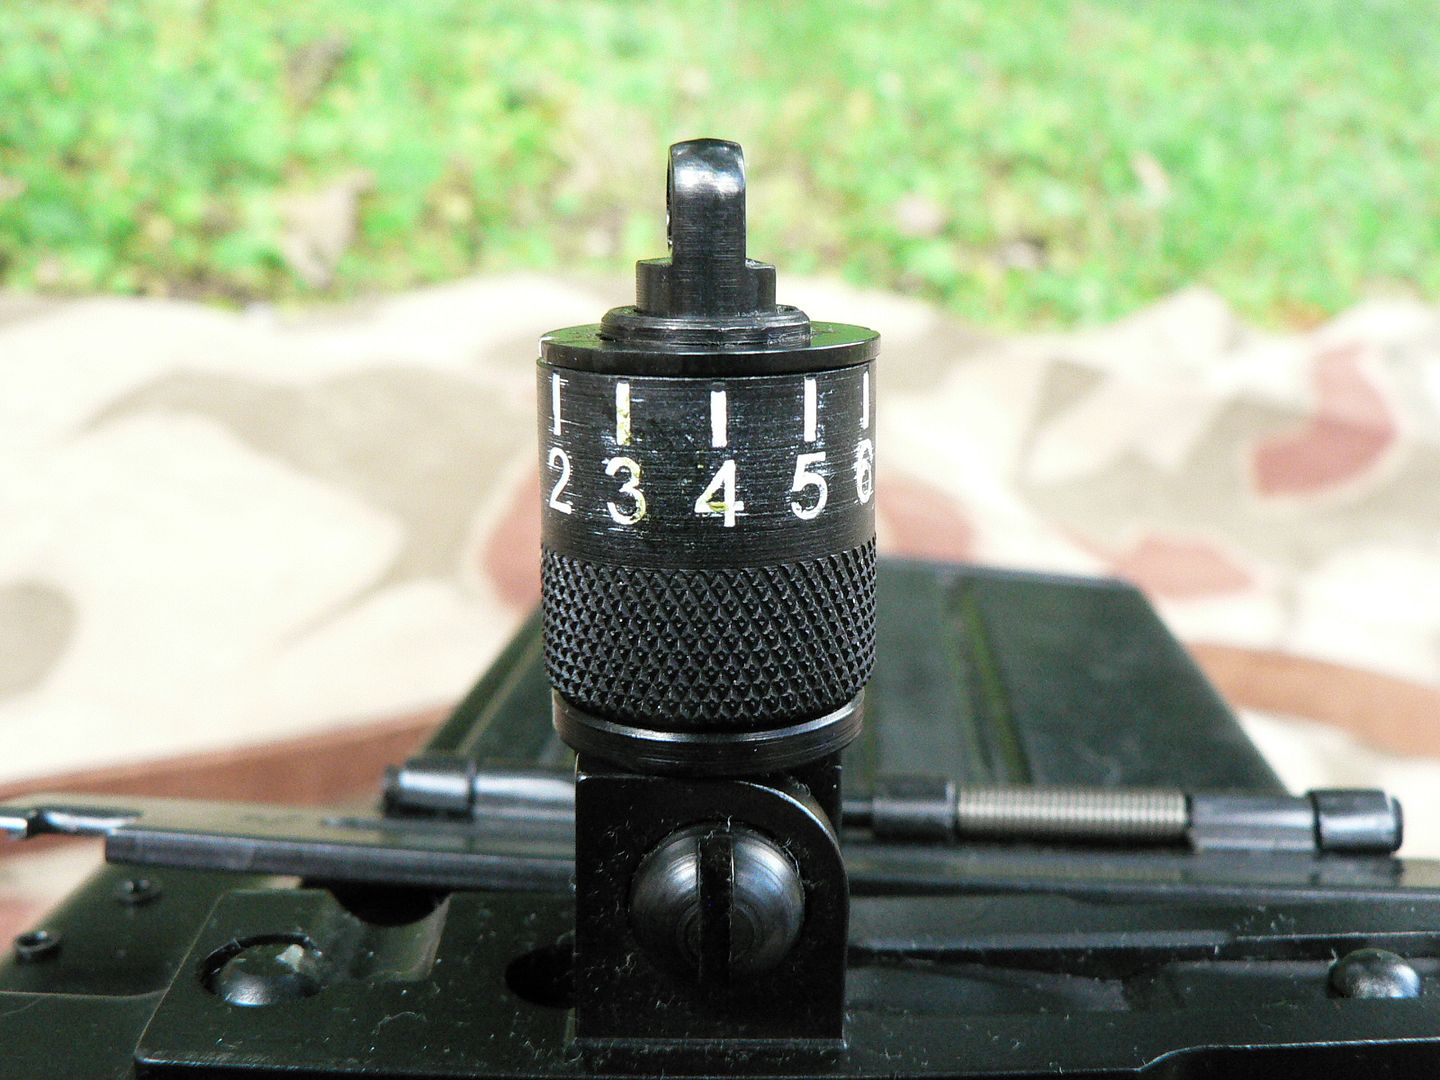
It would look even better if the engravings were deeper so that I could more aggressively remove the extraneous paint from the imperfections in the steel without pulling the paint from the numbers and indices.
In the next post, we'll stay with the receiver; starting with moving up to the top and discussing the rear sight plate before working our way around to the right side and bottom. Thanks for your time and please keep checking back for more!